Rendering using IRAY in 3DS Max
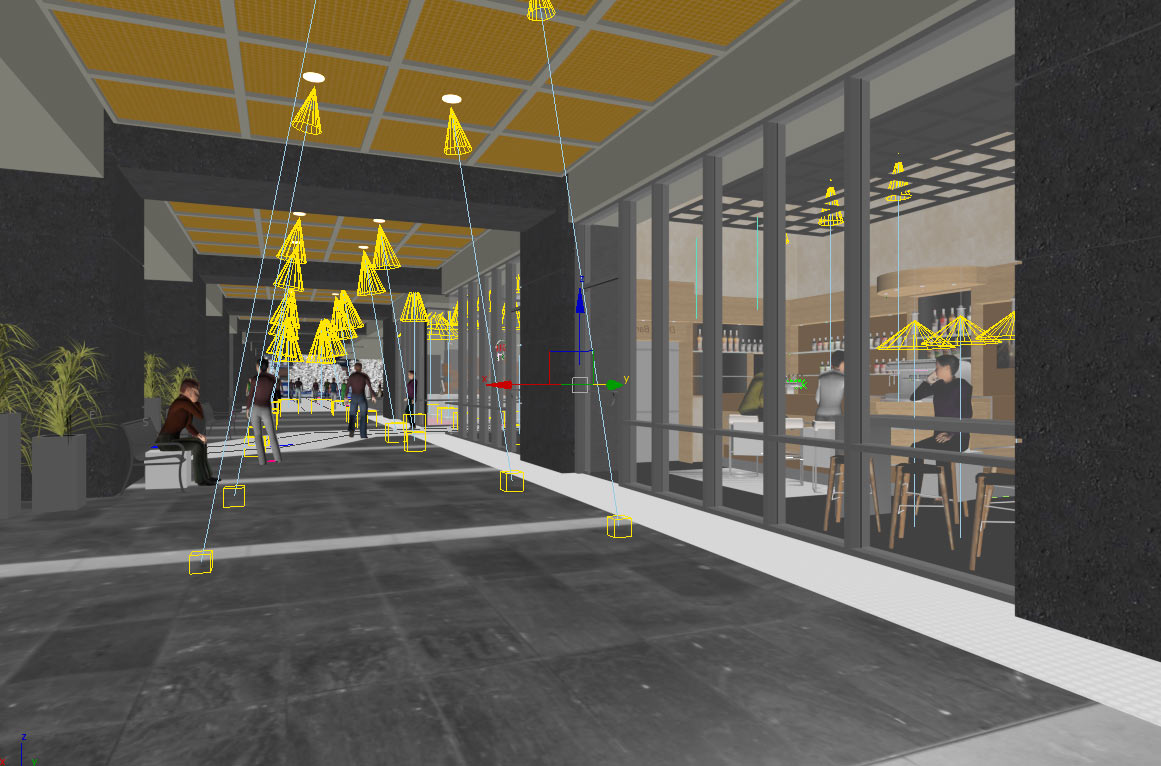
This project was modeled using AutoCAD – the floor plans were already provided. The modeling took about 3-4 hours, and the rendering setup took about 2 hours. The rendering itself took about 2 hours using a single GTX780 and Core i7 quad core. This scene has approximately 40 lights. I mix their color temperatures to give different looks, including a very red light at the end of the galley. Not bad for one day’s work. This adds a more retail feel to the drawing. While I used to use Mental Ray, and dabbled in VRAY, I find IRAY conducive to my workflow. The near-instant feedback of GPU processing tells me what I need to know quickly. All the renderings featured on this website were done using iray.
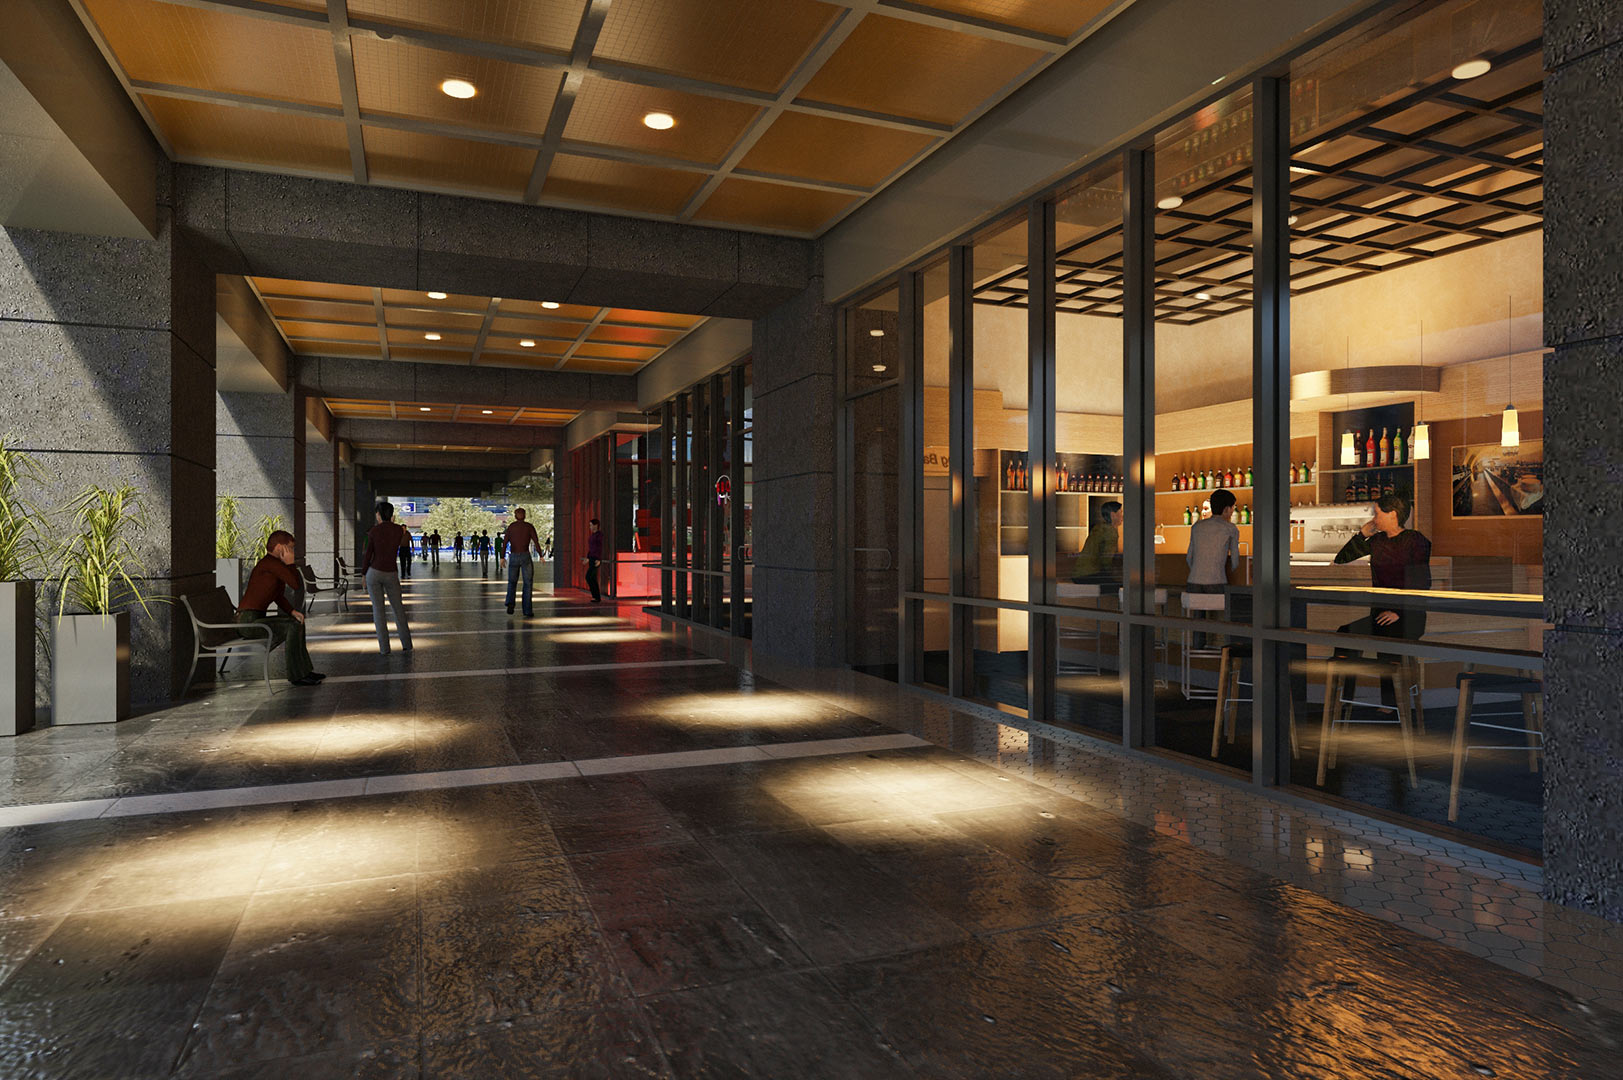
Modeled in AutoCAD and rendered in 3DS Max.
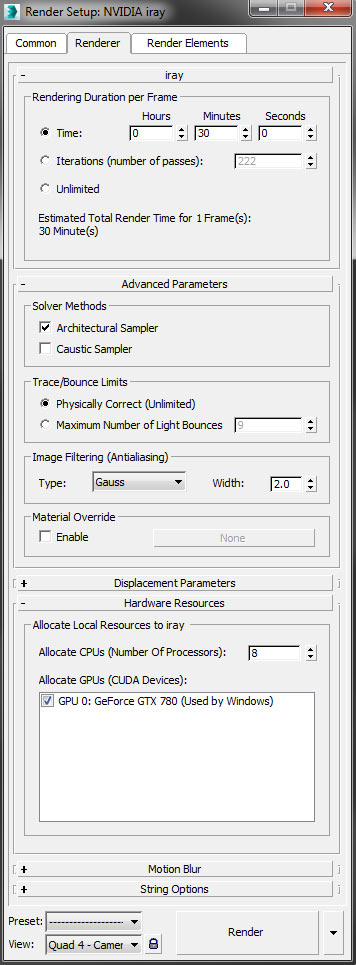
Iray Settings
Here you can see my settings. For this rendering I did use the ‘architectural sampler’ because I found it was getting more light bounced around the space. Other than that, these are my standard settings. For final renderings I change the image filtering ‘antialiasing’ from 3 to 2. This gives the image a sharper look. It does increase render times, so I leave it at 3 while I am setting up my 3D file. NOTE: I sent the rendering for a full two hours, not 30 minutes.
This series of animations were all done using IRAY. The iterations on many of the video clips are around 500, they should be more for a cleaner looking video, but time is always a challenge.
Good work!
I’m student in Architecture, how long it takes for the training to get this result?
thanks
Rabe