White Balance | Interior Architecture Photography | Before and After
This post is not about the post production transformation in a before and after image. This is more about understanding white balance. You know, that setting on your camera where you have to choose a Cloud, or a Sun, or a House, Shade, a Light-bulb, or a tube-light. What your camera is actually doing is changing the white point on the sensor. The white point is the Kelvin temperature. Professional cameras allow the photographer to actually select the white balance number, such as 6400 Kelvin.
For reference, a sunny day has a white balance temperate of approximately 6000k, a florescent light would be close to 4000k, and a candle would be around 1500k.
In the case of the photo below, we have multiple light conditions. Coming in through the exterior windows is light with a temperature around 6000k, but the ‘yellow looking’ lights in the interior, tungsten, are closer to 3500k. As a result, the camera cannot resolve both light sources to be color correct. This is completed in post-production.
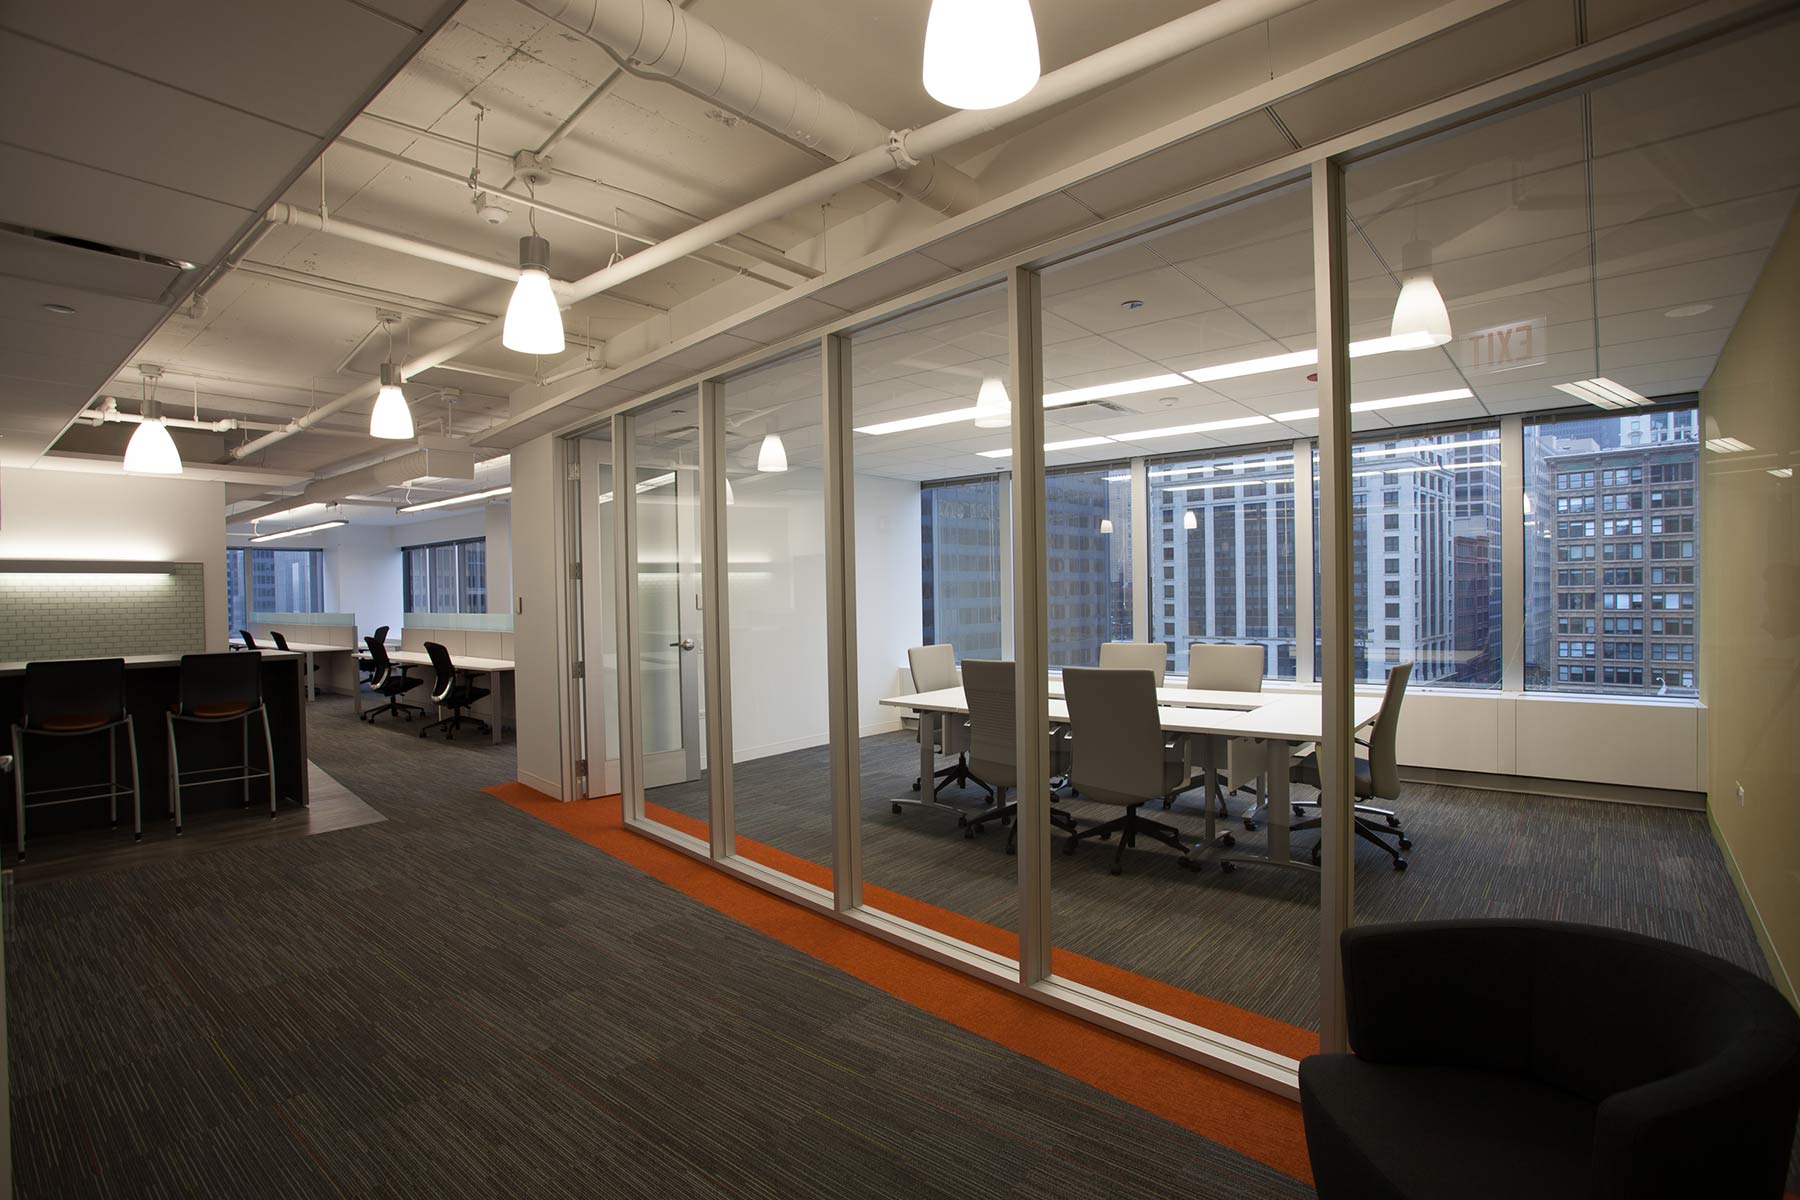
Before
Image straight out of camera.
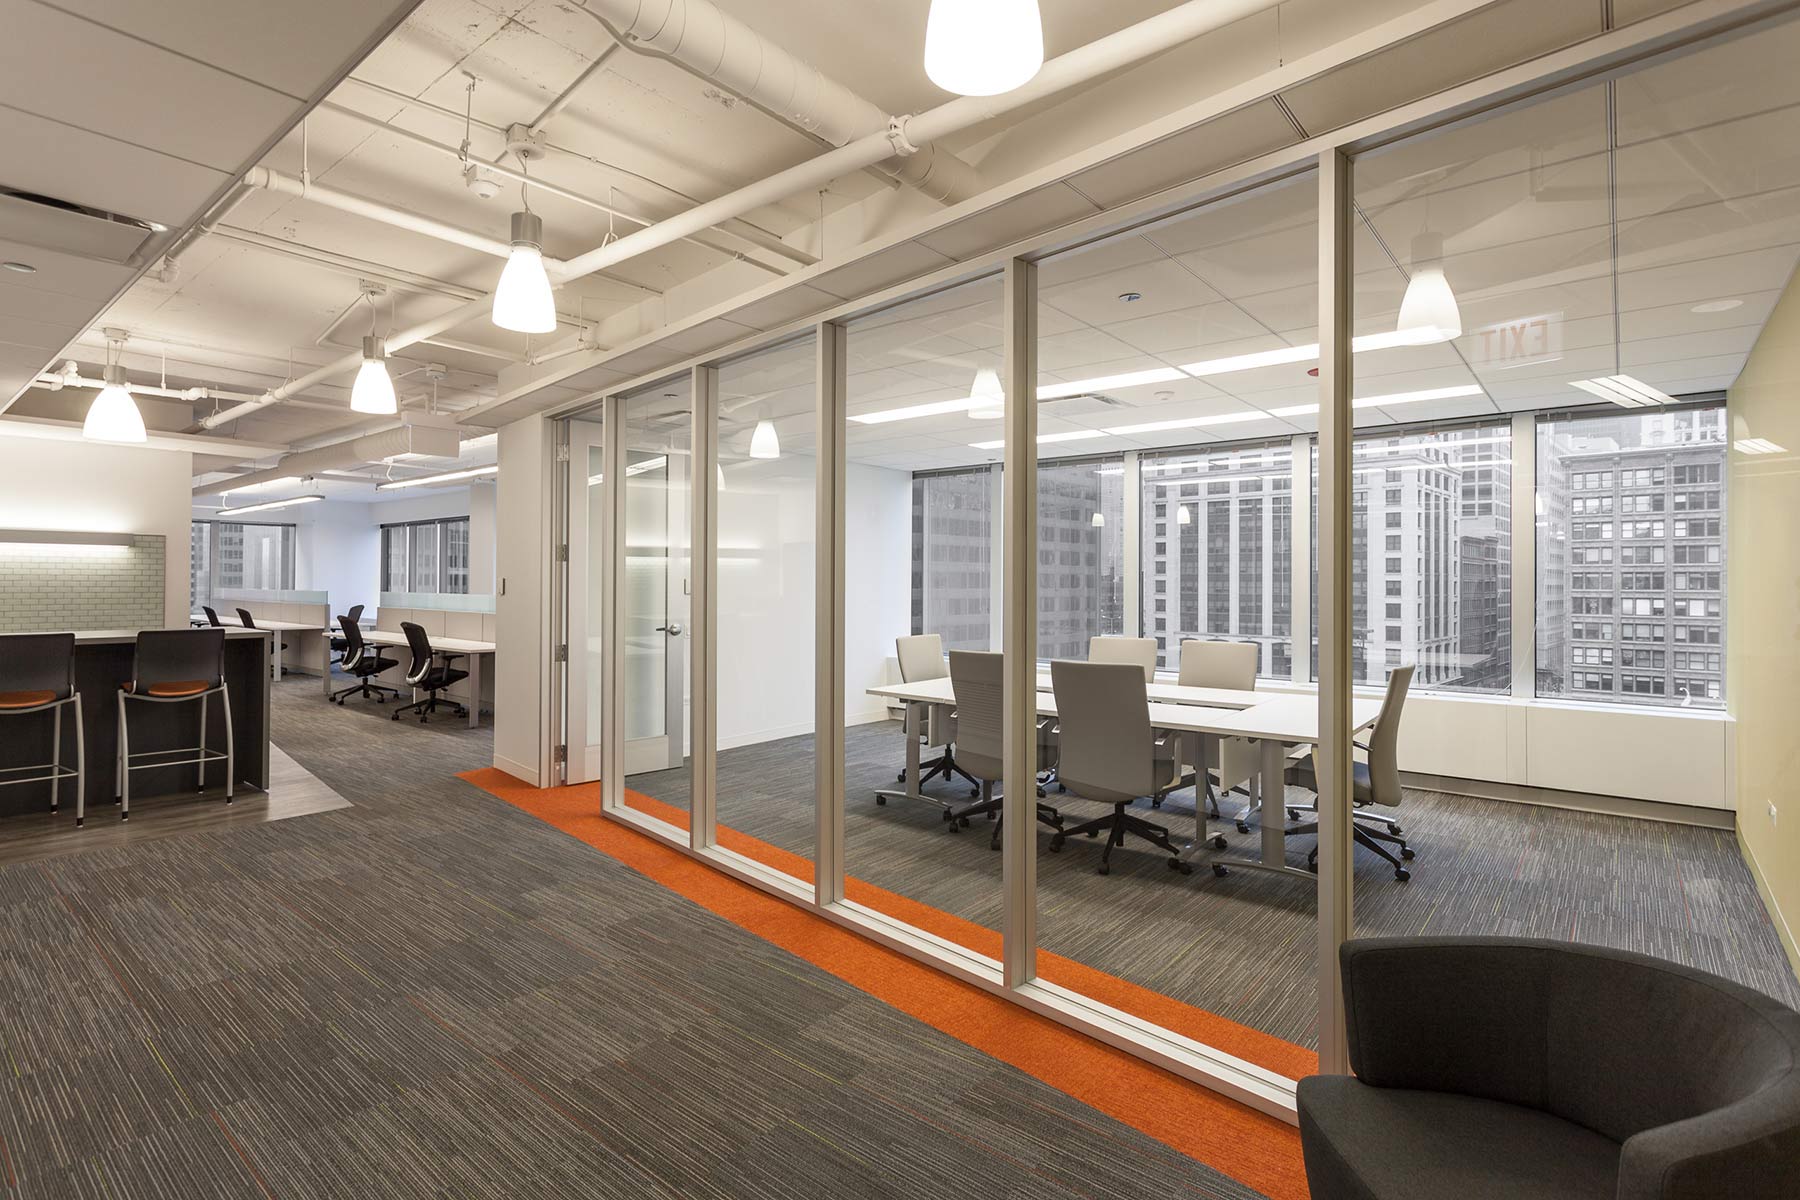
After
Image adjusted and blue tint removed.

Before
White balance correctly adjusted for the interior results in a blue-tint from the sunny exterior light.
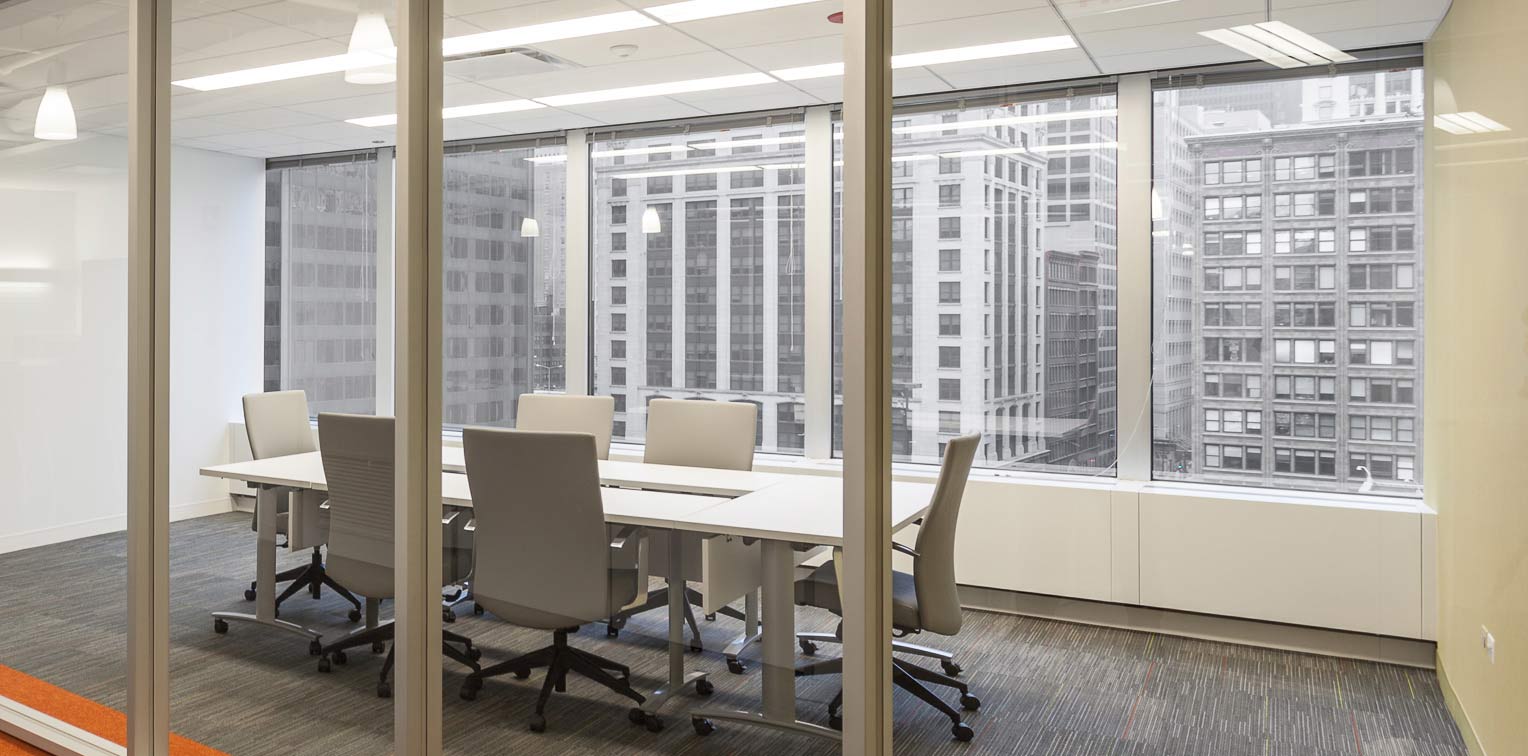
After
Corrected in Photoshop, the blue tint has been removed from the exterior window zone.